Motion-activated DIY spy camera is a creative approach to protecting your home while simultaneously conserving power and storage space. In this quick guide, we will show you how to assemble a motion-triggered spy cam for different surveillance purposes.
Materials You’ll Need:
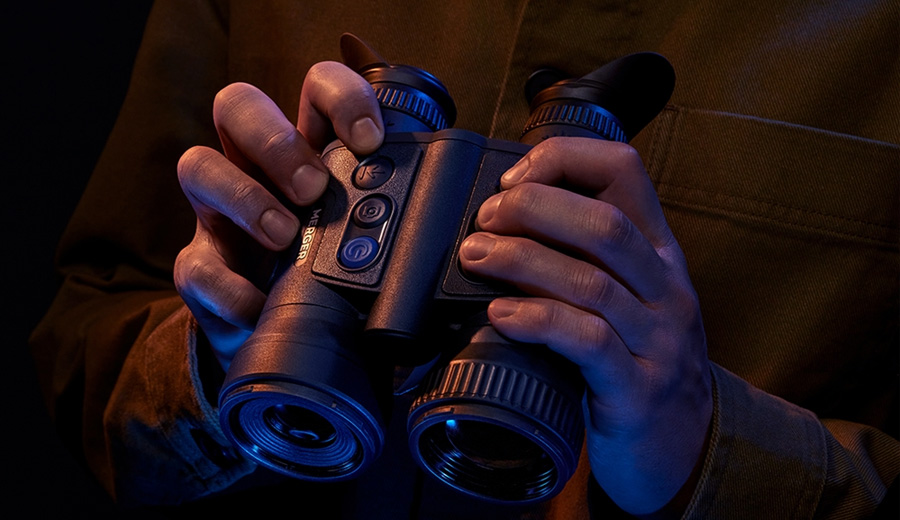
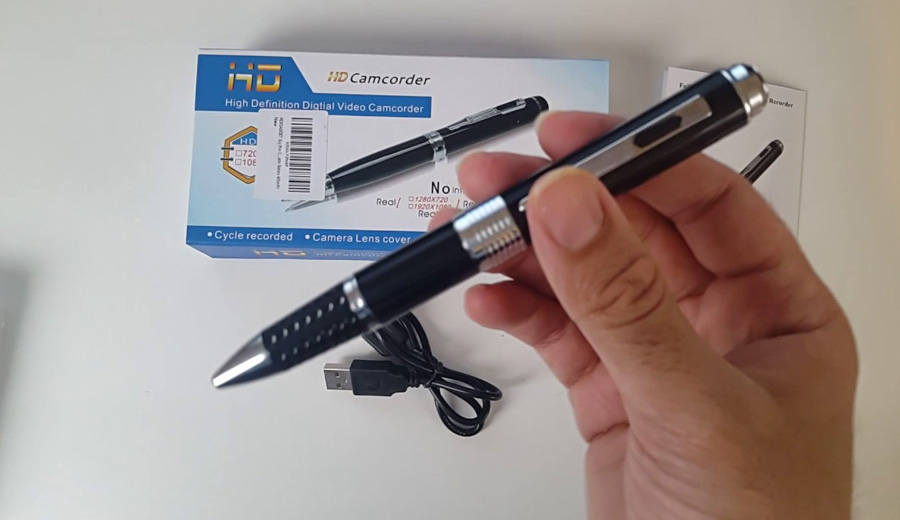
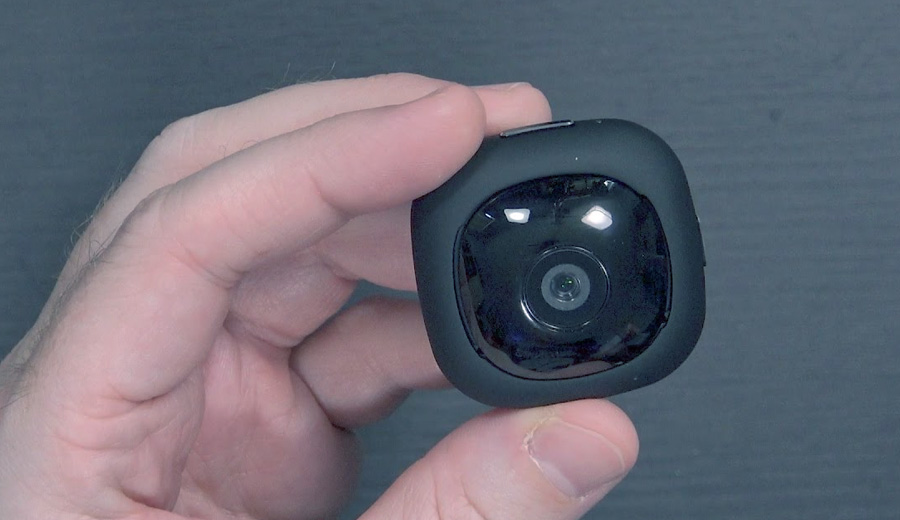
Mini Camera: Good quality camera of small size ideal for motion activation.
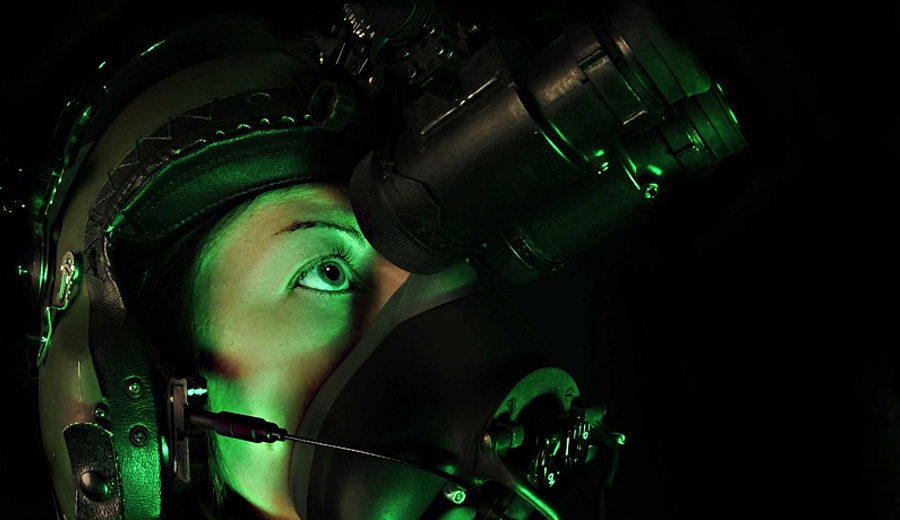
Motion Sensor: An infrared motion detector.
Storage Unit: Micro SD Card, HDD, SSD, etc.
Battery or Power Source: Needed in order to power up the camera.
Enclosure: A discrete housing or casing for the components (could be common household item).
Tools: A screwdriver, wire strippers and a soldering iron (if necessary).
Step 1: Gather the Necessary Components
Collect all the necessary parts, ensuring they are compatible and operational. Make sure that you test each separate part and check that it works the way it is supposed to before integrating.
Step 2: Prepare the Camera
Connect the Camera: Make sure you assemble your camera and check that it is working well once it is connected to power or battery.
Test Recording: Also make sure the camera records and saves data on the storage device (SD card).
Step 3: Integrate the Motion Sensor
Connect the Motion Sensor: Select a location for installation of the motion sensor.
Wire the Sensor: Connect the motion detector to the camera so that whenever the motion is detected it is recorded.
Step 4: Configure Motion Detection Settings
Adjust Sensitivity: Set sensitivity to a motion sensor so that the appropriate range of motion is detected.
Time Settings: Specify the time period that the camera will record after motion is detected.
Step 5: Enclose and Disguise
Housing: Consider hiding the camera, motion sensor, as well as power inside a discreet housing or enclosure. Make sure there are no obstacles that could obscure the lens. Hide the wiring if any.
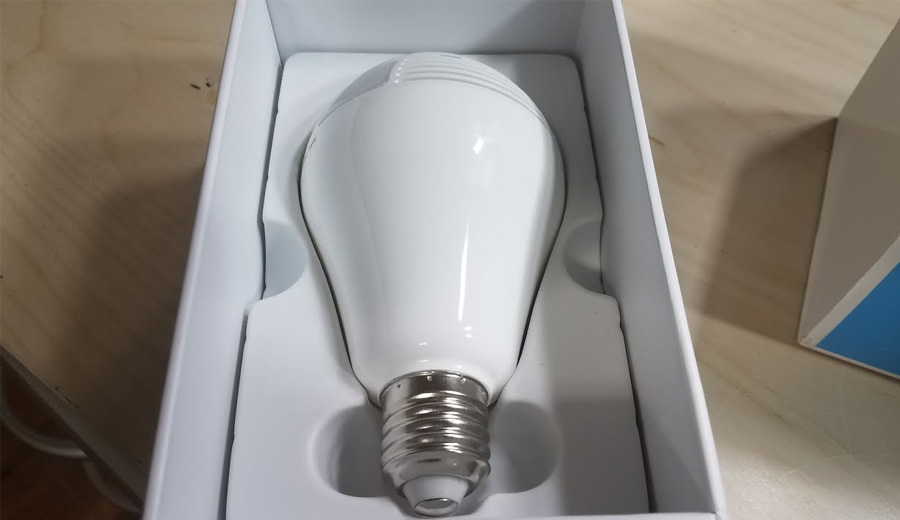
Disguise the Camera: Possibly paint the housing and camouflage it to match to the environment, making it invisible.
Step 6: Testing
Positioning: Put the assembled motion activated camera in the chosen spot for surveillance.
Testing the System: Go in front of the camera and PIR sensor so that the motion sensor prompts the camera to capture the images. Ensure that recorded footage is saved perfectly on the drive or card.
Step 7: Final Adjustments
Fine-Tune Settings: Make appropriate adjustments on the sensitivity and time settings if need be.
Battery Life: Make sure that your power source or battery is adequate for the length of time required for recording.
Step 8: Deployment
As soon as you are comfortable with the performance, place the motion-activated spy camera in the location you want to begin home surveillance.
Tips and Considerations:
Power Management: Choose power sources that have long battery life or opt for wired options.
Legal Considerations: When operating with the surveillance equipment, always follow local laws and ethical procedures.
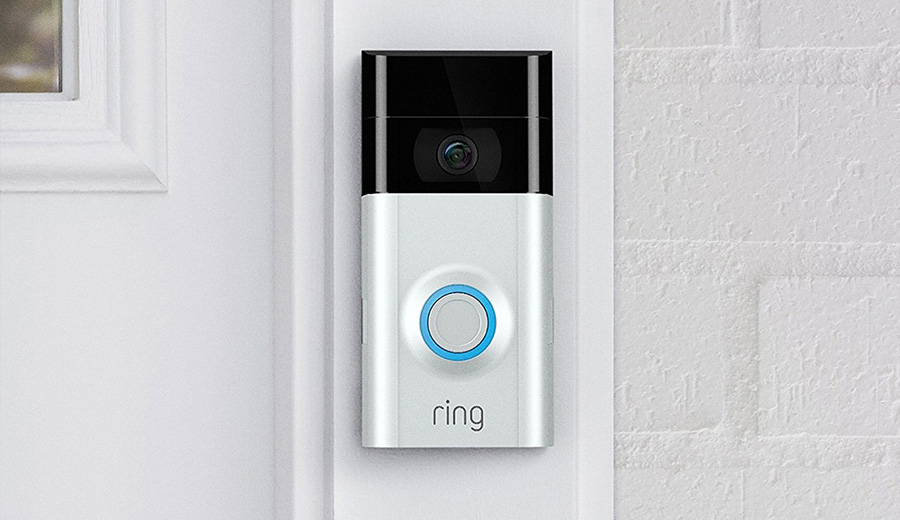
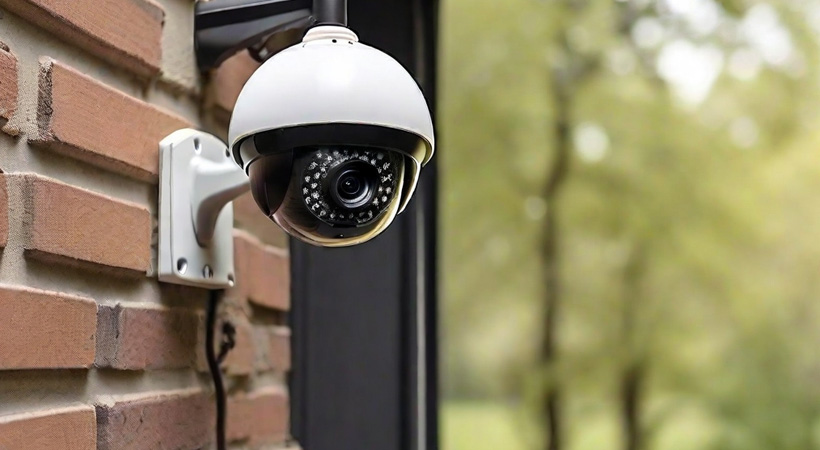
Hidden Placement: Ensure the camera is discreetly placed for optimal surveillance without being easily spotted.
Conclusion
The operation of a Do-it-yourself motion-activated camera should involve accuracy and seamless connectivity of its components.
They, however, offer a practical and useful solution to motion detection and recording upon triggering.
With this DIY tutorial, you can create a spy cam that responds to movement, making it last you longer in terms of power efficiency. Instead of recording empty room or outdoors environment, it will turn on and records when action is taking place. This will save you tons of space.
Overall, it will help make your home, office or warehouse safer and give you more confidence.